Queen Rearing on a Budget for Beekeepers
Queen Rearing on a Budget for Beekeepers
Introduction:
Queen rearing can be an expensive process for beekeepers, especially those just starting. However, with some creativity and resourcefulness, it is possible to produce high-quality queen bees without breaking the bank. In this case study, we will follow the journey of a beekeeper who needed to raise queens on a budget and explore the steps he took to achieve success.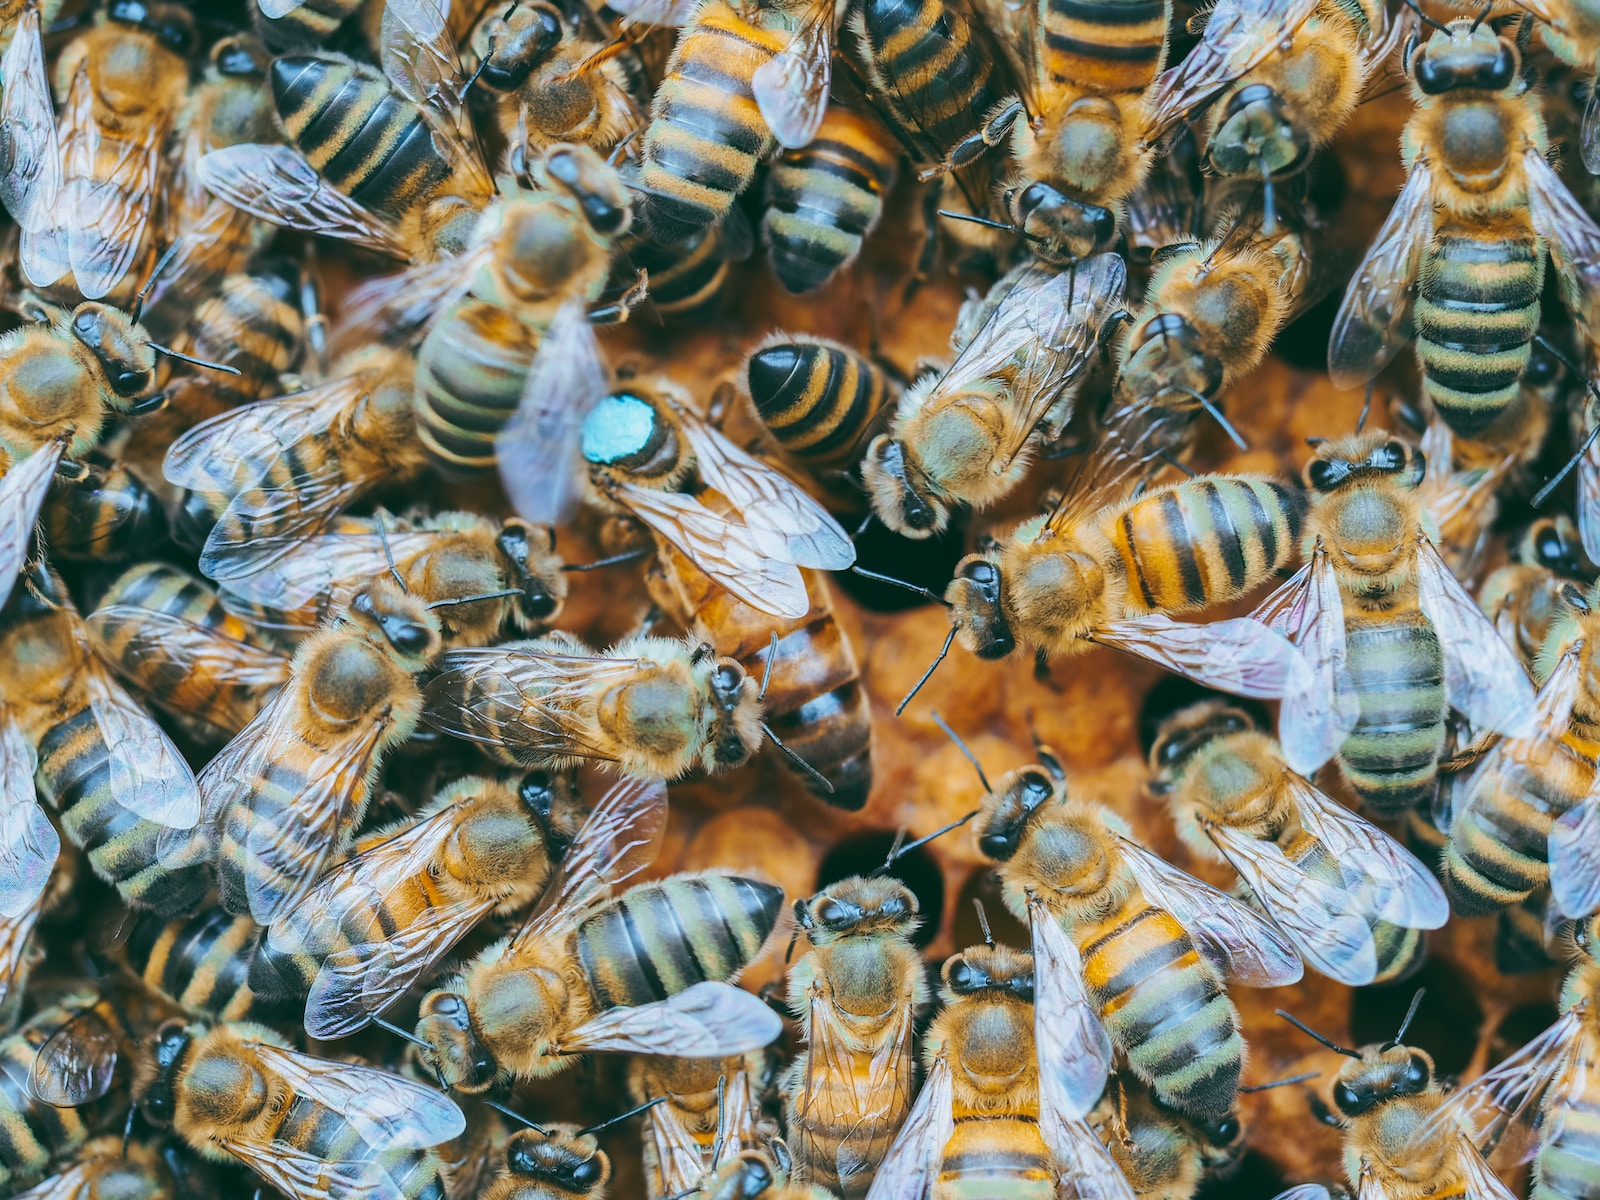
For many beekeepers, the cost of purchasing queens can be a significant expense. Additionally, the availability of high-quality queens can be limited, leading to the need for beekeepers to raise their own queens. However, the process of queen rearing can be daunting and expensive, with the cost of specialized equipment and supplies adding up quickly.
In this case study, we will explore a budget-friendly method for queen rearing that utilizes resources that are readily available to most beekeepers. While some specialized equipment may be required, we will focus on using items that are either affordable or can be repurposed from other beekeeping equipment.
Our Case Study:
Meet John, a passionate beekeeper on a limited budget who has become fascinated by the art of queen rearing. John has been keeping bees for several years and has always relied on purchasing queens from other beekeepers or breeders. However, John recently learned about the benefits of queen rearing and wants to give it a try. He is excited about the possibility of producing his own high-quality queens without breaking the bank.
Like many beekeepers, John was worried about the cost of queen rearing. He knew that purchasing specialized equipment and supplies could be expensive, and he wasn’t sure if he could afford it. He also had concerns about the time and effort required to successfully rear queens. John knew that if he was going to produce his own queens, he needed to do it on a budget.
Faced with the challenge of needing to raise queens but lacking the funds to purchase specialized equipment. John had read about various methods for queen rearing but found many of them to be either too expensive or too complicated for a beginner beekeeper. He was determined to find a solution that was both affordable and achievable with his current level of experience.
Fortunately, there are several ways to rear queens on a budget. In this case study, we will explore some of the most effective and affordable methods for queen rearing. We will also provide a step-by-step guide to help you get started.
In this case study, John was able to successfully rear several high-quality queens without spending a lot of money. He was able to produce his own queens using some basic equipment and supplies he already had on hand. By following some simple steps, John was able to produce healthy, productive queens that met his standards.
Method John Selected:
After researching various methods for queen rearing, John came across a method that utilized many resources he already had on hand or could easily obtain at a low cost. By using a modified version of the Miller method and repurposing items such as cell cups and grafting tools from other beekeeping equipment, John was able to successfully rear high-quality queen bees without breaking the bank.
Outline of Results:
John was able to successfully rear 10 high-quality queen bees using the budget-friendly method he had researched. These queen bees were healthy and productive, leading to an increase in honey production and a healthier hive overall.
Details on How:
To achieve these results, John utilized a modified version of the Miller method. He started by selecting a healthy, productive hive and ensuring that it had a good population of nurse bees. He then removed the queen and a few frames of brood, leaving the hive with the resources needed to produce queen cells. John then introduced a frame with cell cups attached, which he had obtained at an affordable cost from a beekeeping supplier.
Next, John waited for the nurse bees to start producing royal jelly in the cell cups. Once the cups were well-stocked with royal jelly, John used a grafting tool to transfer newly hatched larvae from the selected hive into the cell cups. These cells were then placed back into the hive to be cared for by the nurse bees.
After 10 days, John checked the cells to see if any of the larvae had been accepted and had developed into queen cells. He then carefully transferred the queen cells to mating nucs to be raised to maturity.
By utilizing resources that were readily available and repurposing items from other beekeeping equipment, John was able to successfully rear high-quality queen bees without breaking the bank.
Select a healthy, productive hive with a good population of nurse bees
Step by Step Breakdown:
Step 1: Identify the Best Time to Rear Queens
The first step in queen rearing is to identify the best time to rear queens. The ideal time to rear queens is during the peak honey flow when the colony is strong and the bees are actively producing brood. This is typically between April and July, depending on your location.
Step 2: Select the Best Colonies for Queen Rearing
The next step is to select the best colonies for queen rearing. Look for colonies that are strong, healthy, and have a good temperament. You want to select colonies that have a high rate of egg-laying and a good brood pattern.
Step 3: Prepare the Queen Rearing Equipment
To rear queens on a budget, you can use some basic equipment and supplies that you may already have on hand. You will need:
- A grafting tool
- A frame with wax foundation
- A queen excluder
- A queenless colony
- A mating nuc
Step 4: Grafting the Larvae
Once you have identified the best colonies and prepared your equipment, it’s time to graft the larvae. Using your grafting tool, carefully transfer the larvae from the brood comb to the wax foundation. Make sure you transfer the larvae to the center of the cell.
Step 5: Transferring the Queen Cells
After the larvae have been grafted, it’s time to transfer the queen cells to the mating nuc. Place one to two of the queen cells in the center of the nuc and leave it alone for about 24 hours.
Step 6: Monitor the Queen Cells
After 24 hours, check the queen cells to make sure they are being accepted.